


After I returned from Ignite ’17 I made a little event recap presentation using Sway. Lucky for me, the Sway team was having a little competition and selected my Sway as a winner! They announced it on the Microsoft Tech Community in October and sent me a nice little gift including a sweet t-shirt, Amazon gift card, and Sway patch. In honor of the nice prize I got, I thought I would share with you a quick tutorial for Sway.
So What is Sway Anyway?
Sway is a way to create presentations that are attractive, mobile-friendly and web-ready. It was originally created for the education market and made its way to the Enterprise subscriptions and all Office 365 tenants. It’s an alternative to PowerPoint that is responsive, meaning it works on any sized device at any aspect ratio. There are also Sway apps for Windows, Android, and iPhone phones. You can create a Sway if you have a consumer Microsoft account or an Office 365 account.
How Do I Get Started?
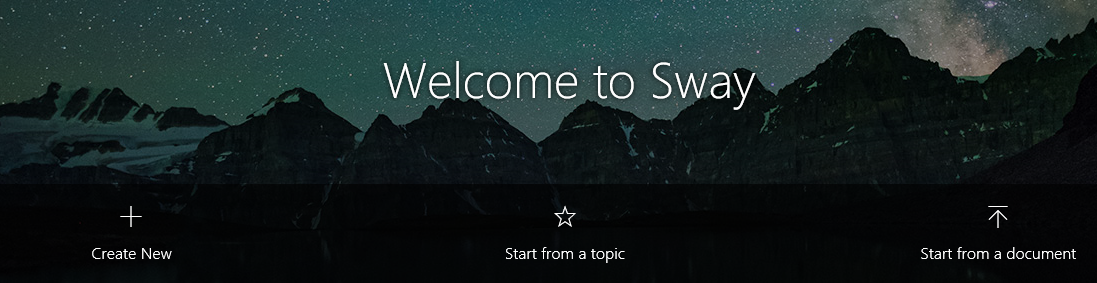
Sway create options
Navigate to Sway.com and log in with your Microsoft or organizational (Office 365) account. You have three options: Create new, Start from a topic, or Start from a document. For the sake of this example, let’s start with a blank slate, so select Create new.
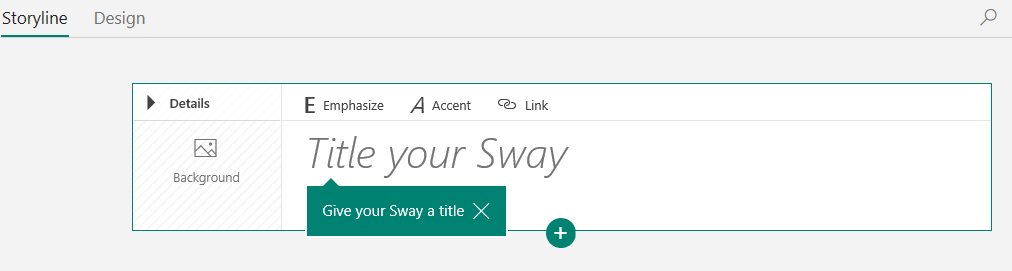
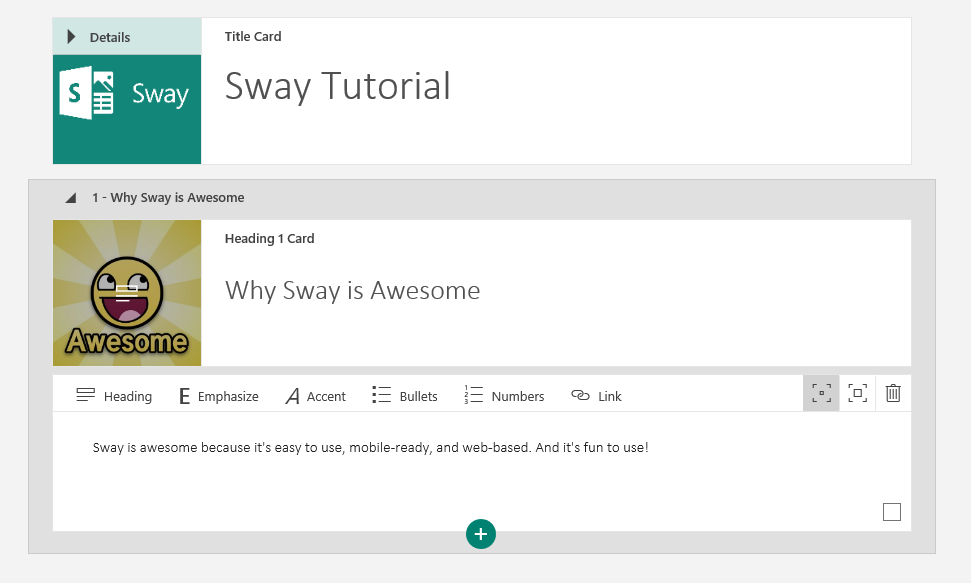
Sway storyline and card
You’ll notice that you’re looking at your “storyline”. Your storyline is composed of multiple “cards” (a nod to HyperCard?) which can contain text, images, embedded videos, and more. You can choose to either embed an image, or place an image as a background behind your text. The important thing to note is that cards can display either vertically or horizontally, meaning the user will navigate either up and down or side to side to view each set of cards, and this can be modified with a simple setting.
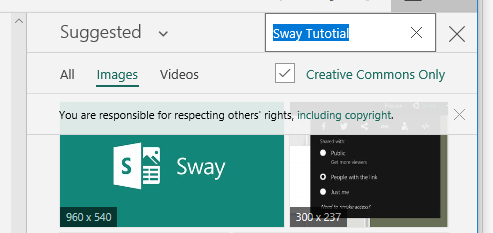
Sway image search options
Go ahead and add the title “Sway Demo” to your Sway. Then, click the “Background” icon. You’ll notice that Microsoft has a “suggested” heading which automatically queries Bing for images using the text you put into the body of the card. In this case, since you used the word “Sway”, you’ll see the Sway icon appear as one of the first choices. Take notice a few things:
- You can modify the search text that was used to query Bing
- By default, Bing will filter out the images to only use those images with a “Creative Commons” license, to help you not inadvertently use copyrighted materials
- You can also use Bing to browse and select Videos to embed in your card.
Select the Sway icon and click the “Add” button to add it to your Sway.
Now that you have created your title card, you can start to add content. Click the plus (“+”) sign to add a new card to your storyline.
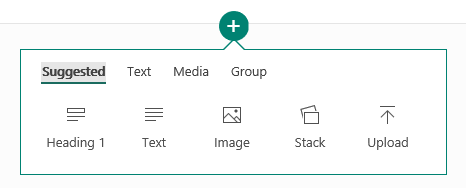
Add Card
Select Heading 1. Notice that your card is now inside a group that begins with the number “1”. Go ahead and type “Why Sway is Awesome” in the text portion, and select a background image as you did before.
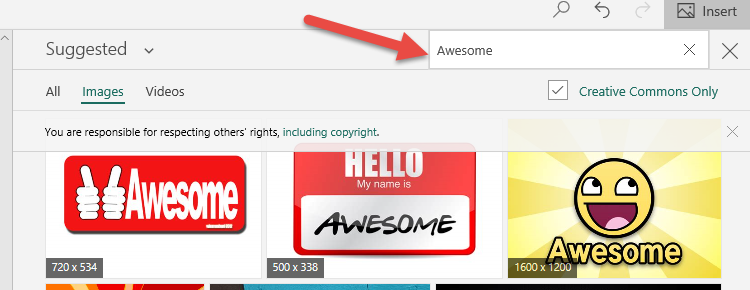
Change search term to “awesome”
If the Bing search is still using the original search term, type the word “Awesome” into the search box to find an “Awesome” image. Select the smiley face and click the “Add” button.
Now, underneath your card, click the plus sign like you did before, but ensure that the plus side is inside the gray “section” area. Add another card and select “Text” as the type to add. Add some text about why Sway is awesome!
Sway Section
Now that you’ve created a bit of content, click the Play arrow at the top right of the page to see your Sway in action! Notice that at first, you will scroll vertically to see the content in your Sway. Click the pencil (“edit”) icon at the top right of the page to return to edit mode. Now click on the Design tab at the top left of the page, next to the Storyline tab.
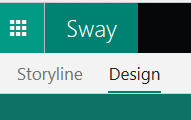
Sway Design Tab
Now, click on the Styles button at the top right of the page, just below the Play button.
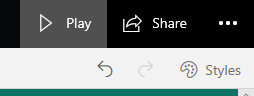
Sway Command Buttons
You will now see a choice of design options, revolving around:
- How the cards are organized (vertical, horizontal, or “slides”)
- What colors and fonts your presentation uses.
Note that you can choose from pre-configured color and font options or you can customize those choice yourself (much like when choosing themes in Office documents).
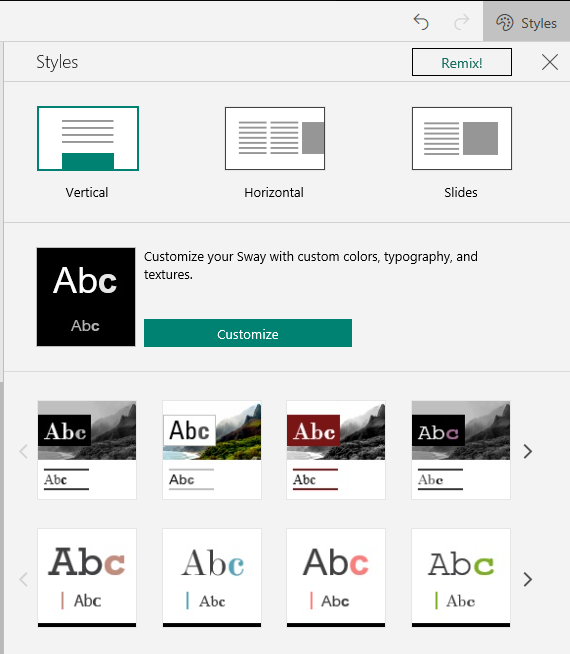
Sway Styles
Notice that when you make a change to the layout or color and font scheme, your presentation will automatically update so you can test it using your modifications. Go ahead and make a choice and change your presentation. (If you’re brave, you can click the Remix button at the top right and Sway will randomly make a choice for you!)
Once you are happy with your Sway, you can share it with others, allowing them to either view it or edit it, by clicking the Share button at the top right of the page.
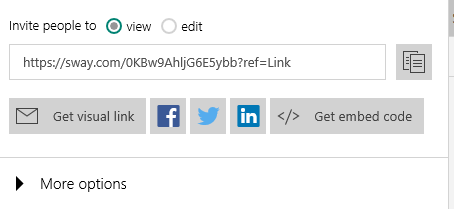
Sway Share Options
You can choose to Get a visual link which creates a nice summary of your presentation to embed in e-mail messages, you can choose to copy embed code to embed in another web page, or you can choose to publish your Sway to Facebook, Twitter or LinkedIn.
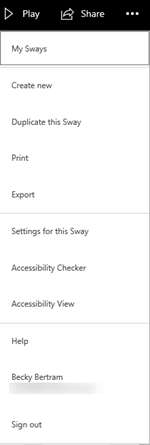
Sway Options Menu
It’s helpful to note the options available to you when you click the ellipsis (“…”) at the top right of the page. You can do things like check your presentation for accessibility, print your presentation, or export your presentation to PDF or Word. Exporting is helpful the same way you might give a PowerPoint presentation but want to distribute handouts to students; the exported version will basically reduce your presentation to card information in a graphic/text format, since the navigational concept doesn’t work with paper.
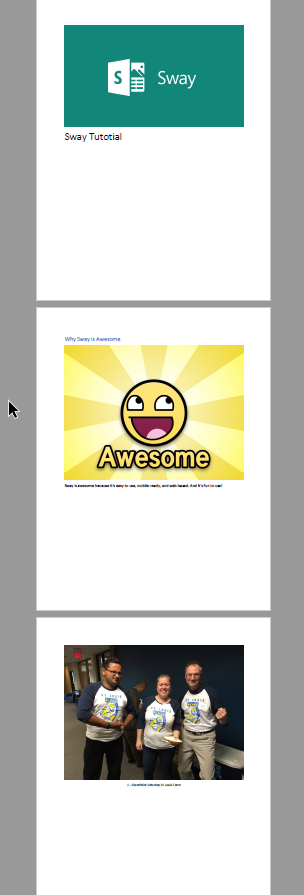
Sway Export PDF
P.S.: Sway is Like NASA
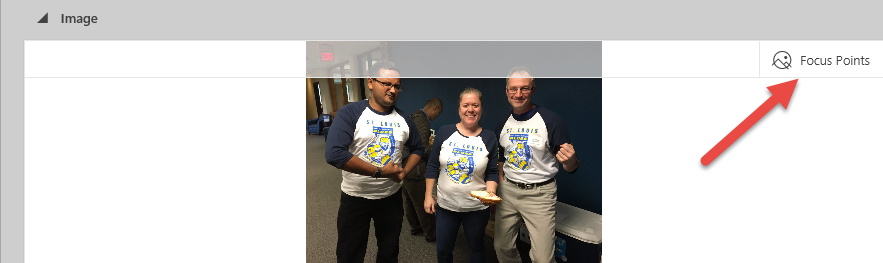
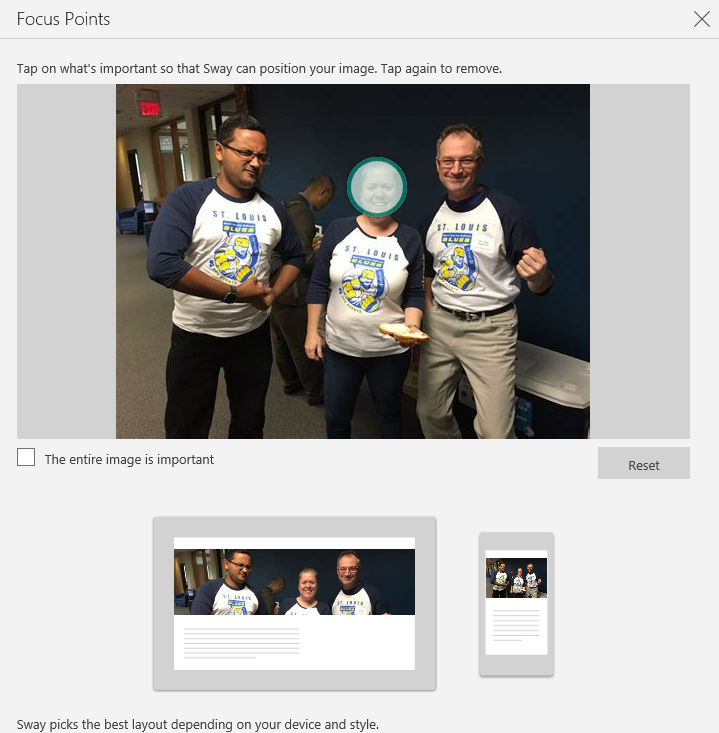
Sway Focus Points Button
There were a number of products that NASA helped perfect, that now have wide adoption, such as freeze-dried food, space blankets, memory foam, and more. In the same way, there are a few things that first came about with Sway (a rather “small” product with limited adoption) that carried over to SharePoint (a much heavier used application), the most notable being the concept of a “focus point” (not to be confused with a focal point. Sigh.) Because Sways are responsive and can be viewed with a vertical or horizontal aspect ratio, on varying sizes of screens, images will necessarily be cropped in various ways automatically to accommodate the screen on which the Sway is being displayed. It’s very inconvenient to have a person’s face cut off in this scenario, or to see just the sky and not the ground, etc. Microsoft created the idea of a focus point where you can emphasize to Sway that, no matter how the image is truncated, always keep the focal point visible. Also, note that you can choose to have multiple focus points or indicate that the whole picture is important (in which case Sway will err on the side of including blank space behind the picture to keep aspect ratios correct.)
Conclusion
So, that’s it! Go and try it for yourself. And have fun sway-ing!