
Microsoft recently released its new graphic-generator tool into public preview, Microsoft Designer. This tool makes it easy to create graphics that can be used for the Web, social media, and event print media. These graphics can include text, design elements, and graphics, all using generative AI. Like all the recent AI generative tools on the market, this tool combines an AI-generated starting point (whether that is a graphic or text) that you can then tweak as you see fit.
Although it’s possible to start with an existing graphic, it’s more fun to let the tool create one for you. The first thing you do is to describe the design you want to create. Once you hit the “Generate” button, you will see a number of designs that are auto-generated for you.
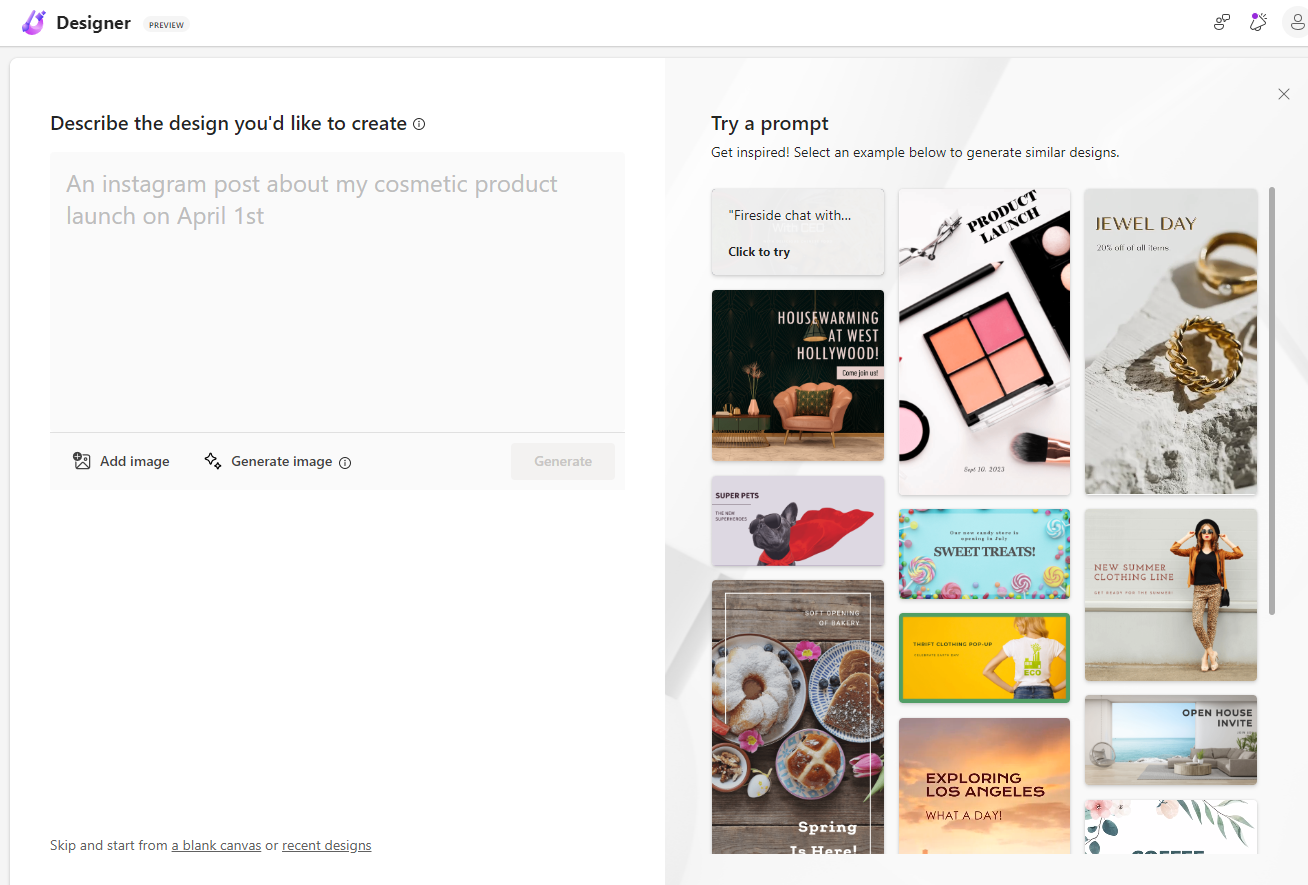
Designer's Initial Prompt
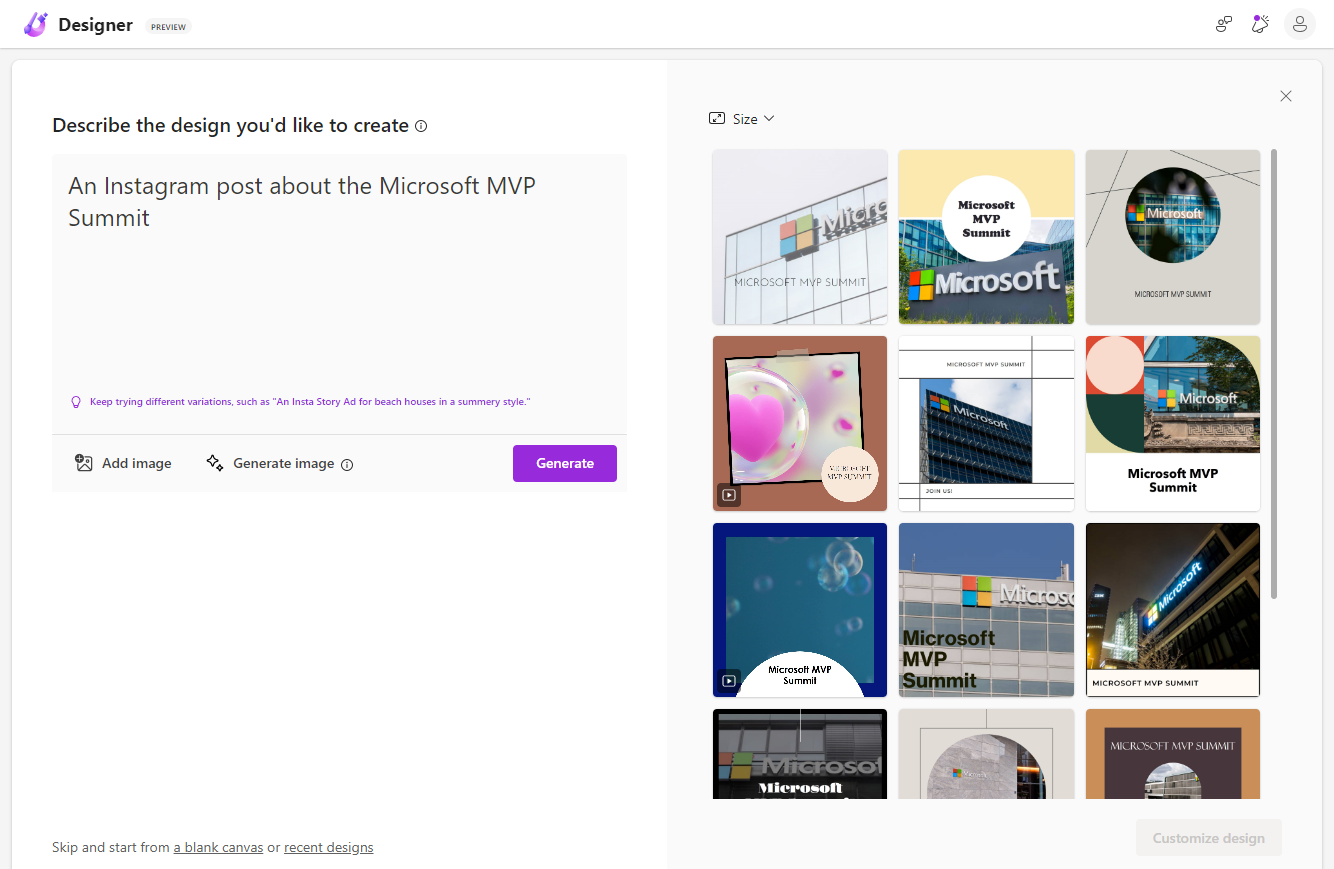
Design Options Provided After Prompt Entered
You can select which aspect ratio you want the generated images to take, although by default it will show you a selection of different sizes.
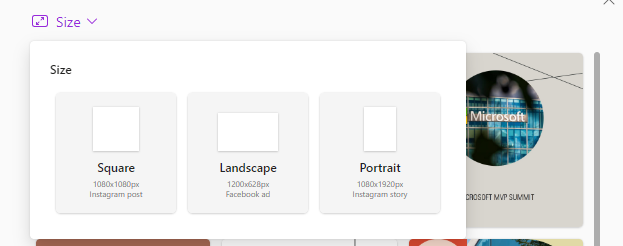
Selecting an image aspect ratio
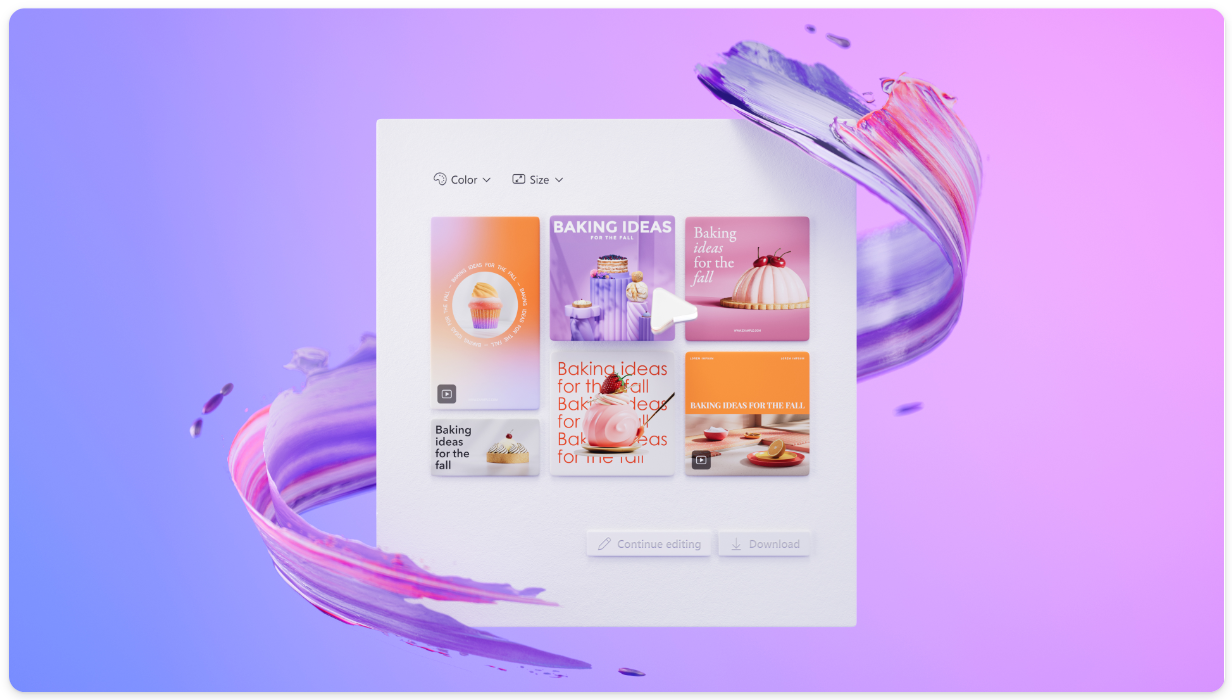
Once you choose an initial design from the choices presented, you can click the “Customize design” button. This will give you several menus for you to use:
- On the right side, you will see additional ideas presented to you. (If you have ever used the design ideas in PowerPoint, this uses a similar idea.) You can design to completely switch up your current design with a new one if you would like. It will generally keep the text you have provided, but provide different looks for the same text and image.
- On the left, you will see a menu where you can choose from various generative options for managing visuals, text, and your brand kit. (We will dive into each of these later in this article.)
- Once you select an element in the design (whether the graphic itself or a text block) you will see another menu appear at the top of your design that lets you edit the specifics of that element.
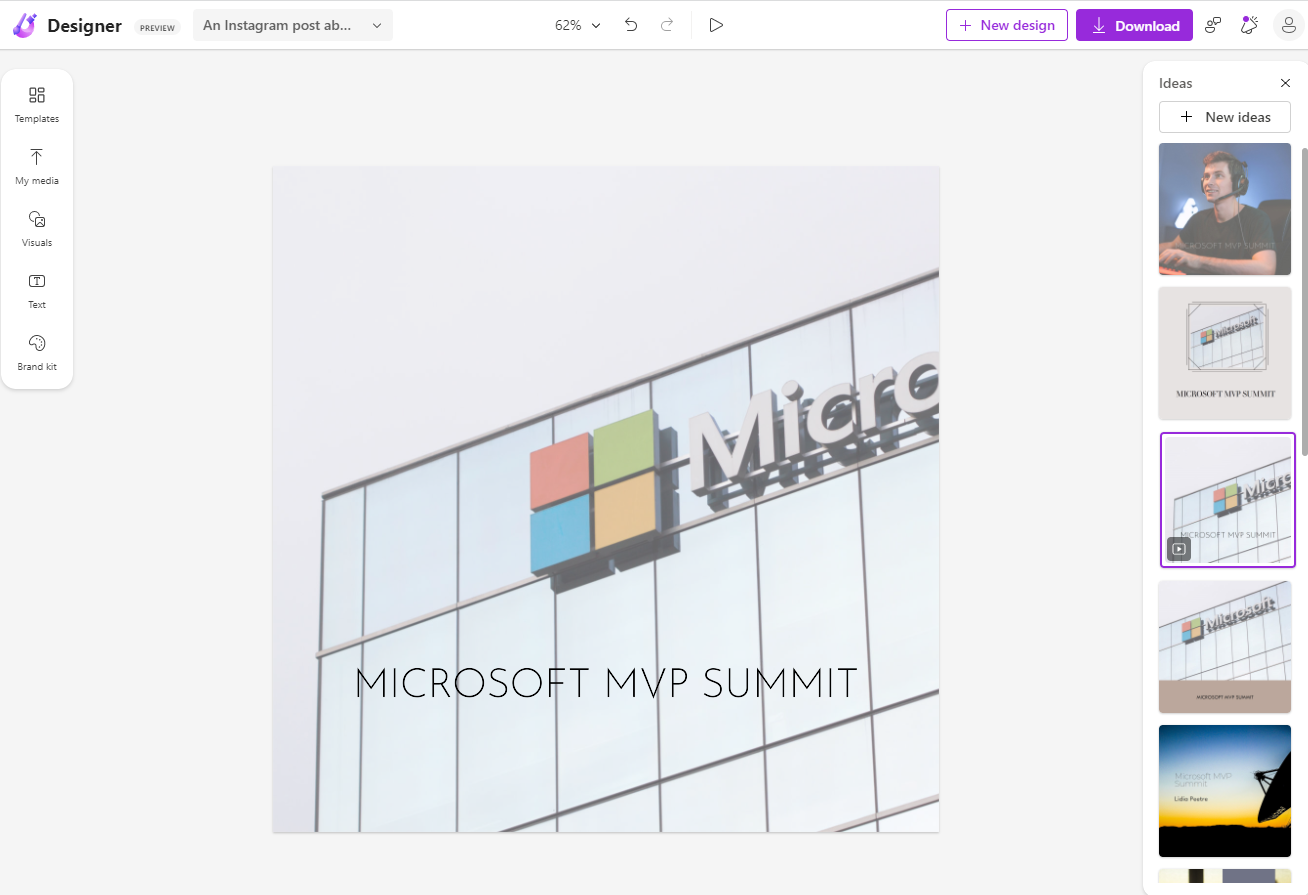
Design surface with menus on left and right

Selecting an element in your design displays the menu to edit the properties of the element
Template designs
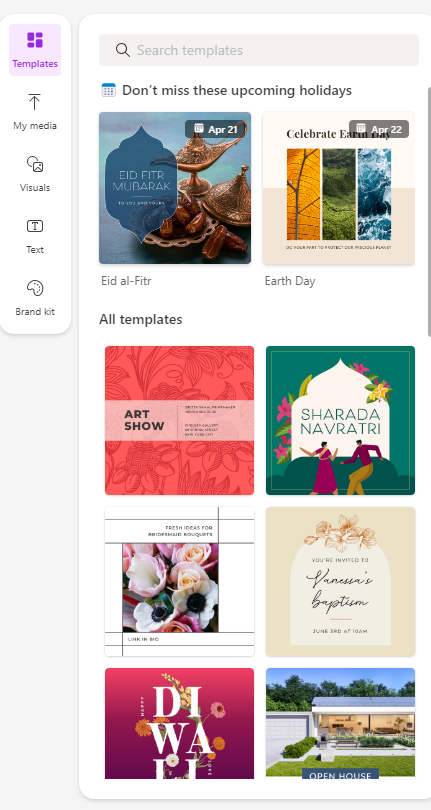
Let’s walk through the items in the left navigation first. The first option you come to is your choice of Templates. The key is not to get too fixated on the wording or the image itself. You need to decide if you like the overall design, because of course, you can swap out the text and image at will. If you need extra ideas, simply type in a keyword, such as “wedding” and you will get all sorts of available options.
As a somewhat funny aside, I was a German major in college, and I had a professor of German who was afraid that if we made our German up as we went, we would commit the cardinal sin of using incorrect grammar. To shield us from this, he had us memorize about 30 of these yellow index cards, each with a phrase on it, such as “This casserole is amazing!” The idea was that we could swap out the appropriate verbs or nouns to adapt to the situation, such as “This castle is amazing!” or “This is chair is amazing!” However, one of these yellow cards had us memorize the unique phrase, “For a triumphal arch, I must say, this gate has an unusual form!” It was hard to see how we could swap much of anything for such a specific phrase! As funny as my experience was, the takeaway I leave you with is that Designer is pulling from German professor’s playbook: adapt the provided graphic to the situation at hand!
Generate option with Generate tab selected
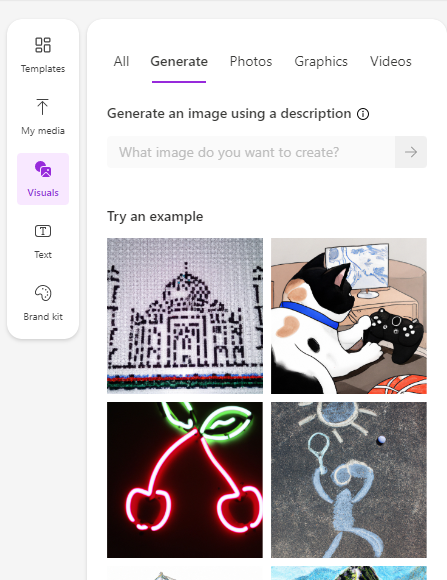
It’s possible to start with your own graphic that you upload, and to create ideas based on the image you upload in the “My media” option in the left navigation.
Next, if you click on the “Visuals” option, you can see several options presented to you: Generate, Photos, Graphics, and Videos. While the Photos, Graphics and Videos options are essentially utilizing the Bing search engine to retrieve images for you based on the criteria you are searching for (not a small thing at all and enormously helpful), but the Generate tab is where you can tap into the power of DALL-E to create a graphic for you. Although you probably did this to a certain extent when you started this design, this is a great option if you decide you want to adjust the graphic for a design you already started, while keeping the color scheme, text elements, or other ideas previously selected.
Next, you can adjust the text.
As we’ve already seen, it’s possible to adjust the font and size of the text by selecting a text box element in your design. That functionality, which appears above your design, is similar to what you would use when editing text in a Word document.
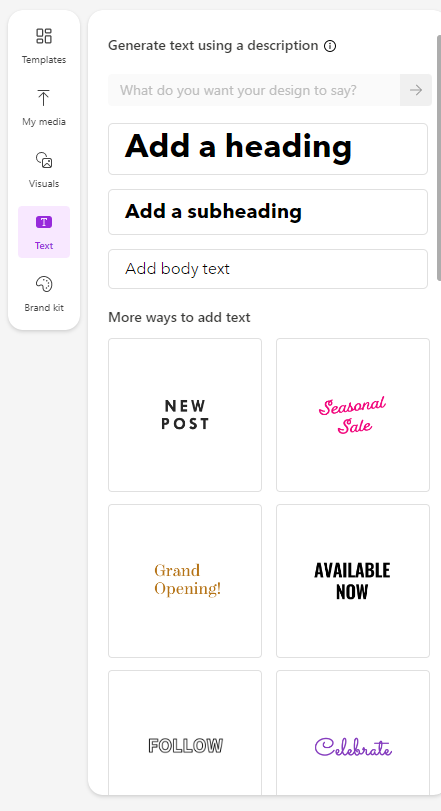
This Text option in the left navigation offers more dynamics options.
- First of all, it provides an option to add a heading, subheading, and body to your design. Selecting these options essentially drops a textbox element on to your design for each one you select.
- Secondly, you also have the ability to add very eye-catching textual designs to your graphics that go way beyond selecting a font face, font weight, and font size. This feature provides options for text that are outlined, rainbow colored, “shiny” and more.
- Last but not least, the prompt box at the top that asks “What do you want your design to say” utilizes generative AI to provide sample text you can use in your design.
Text options
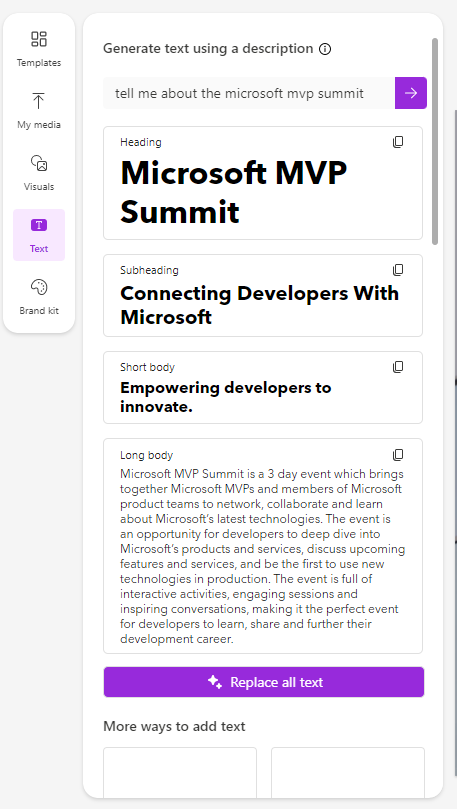
Generated text
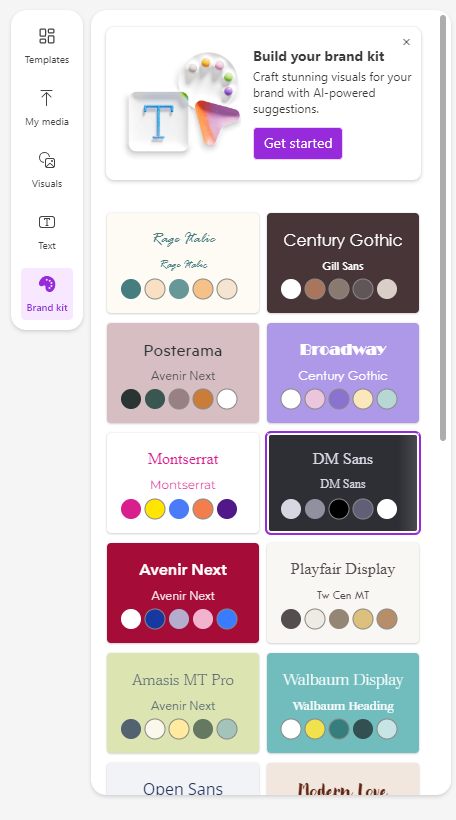
Brand Kit options
Finally, as you move to the last option in the navigation, you can see an option called “Brand kit”. The Brand kit allows you to describe your brand in a few words. Based on your suggestion, it will present you with several color options that could work for you. (You are allowed to alter the colors as well.) Next, it will ask you to choose fonts for your heading, subheading, and body text. Based on these selections, you can now re-use these options in each new design you build, reducing the need to “reinvent the wheel” each time you use Designer.

Toolbar at top of page
Once you are done with your design, you can use the toolbar at the very top to give your design a name, then save the design to a folder of your designs.
When you click the Download button, you can view a number of ways to save or share your graphic. You can select a file type (PNG, JPG, or PDF), then you have several options for using your graphic.
You can:
- Copy to your clipboard
- Generate a QR code, then use your phone to scan the QR code and load the design on your phone
- Download to your computer
- Connect your account to social media accounts on Instagram, Facebook, and LinkedIn, to automatically post your design right to these social media channels
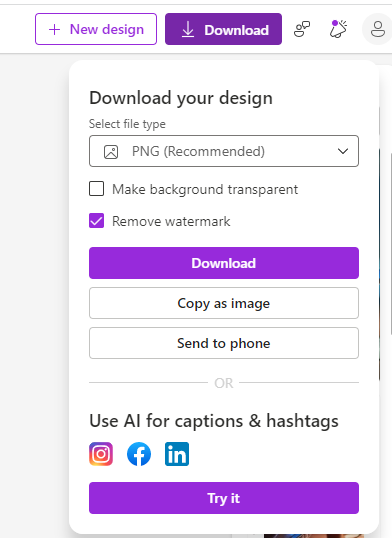
Download options
My personal guess is that this tool will be incorporated into other toolsets at Microsoft rather than just being an end in itself. Like many cutting-edge tools, I think this is a first pass at creating a user interface that allows designers to tap into the power of generative AI for both text and graphics. Microsoft clearly states in its preview announcement, “The current free preview does not include all planned features to come; we will be adding more over time. Once the app is ready for general availability, it will be available both as a free app and with more premium features available to Microsoft 365 Personal and Family subscribers.”
It’s a lot of fun to use. Although the product is still in preview, anyone can sign in and start playing with it. Go ahead and try it out at https://designer.microsoft.com.
For the official announcement, visit https://www.microsoft.com/en-us/microsoft-365/blog/2023/04/27/microsoft-designer-expands-preview-with-new-ai-design-features/.